I love black and white photos and Ansel Adams is one of my heroes. I don’t convert a lot of my own stuff to black and white though, my own photographic eye is very much triggered by light quality and colour so I don’t actually shoot that much material that does well in black and white. Colours are a big part of my composition and style. But this week allowed me to seriously sink my teeth into black and white conversions and come up with photos like this one:
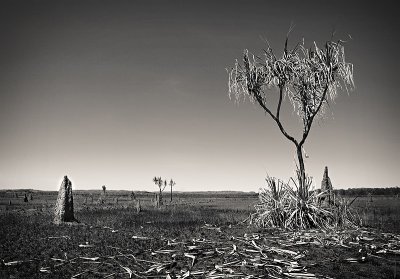
Kakadu Pandanus Palm in duotone
Copyright Flemming Bo Jensen Photography
I am working on a project for a company, where I am to deliver 5 photos, 100cm wide, framed and in black and white. The client asked me to put together a cityscape and landscape portfolio in black and white so they have a small selection of the best to choose from. This meant going through my whole photo library and picking out 24 shots in all, 12 for each portfolio, that would do well at 100cm wide converted to black and white. The above is not actually part of the portfolio, just something I toyed with a few days ago. Will be interesting to see the finished project and I’ll post when we get there.
To work as a black and white photo you need a strong composition with strong leading lines and full tones going from shadow to highlights and some nice contrasts in the photo. A typical golden hour or dusk photo relies heavily on colours for all of this, so they often become dull in black and white. Ansel Adams actually shot many of his photos in the middle of the day. The photo above is from Kakadu National Park in Australia and was shot around noon, the worst possible time for colour photography but check out how much better it fares when converted to black and white!
There are as many ways to convert a colour file to black and white as there are Photoshop experts. Photoshop CS3 now has a very good black and white adjustment layers that gives you a lot of control. I have tried a lot of conversions the past week and I found that I prefer the results I get from using the Alien Skin Exposure2 Film Simulator plugin. It comes with a truckload of colour and black and white film preset settings (like Kodak T-Max P3200 pushed 2 stops) and you can then change settings to achieve your desired effect. It’s a bit expensive but the results are so good I think I will end up purchasing it for this project.
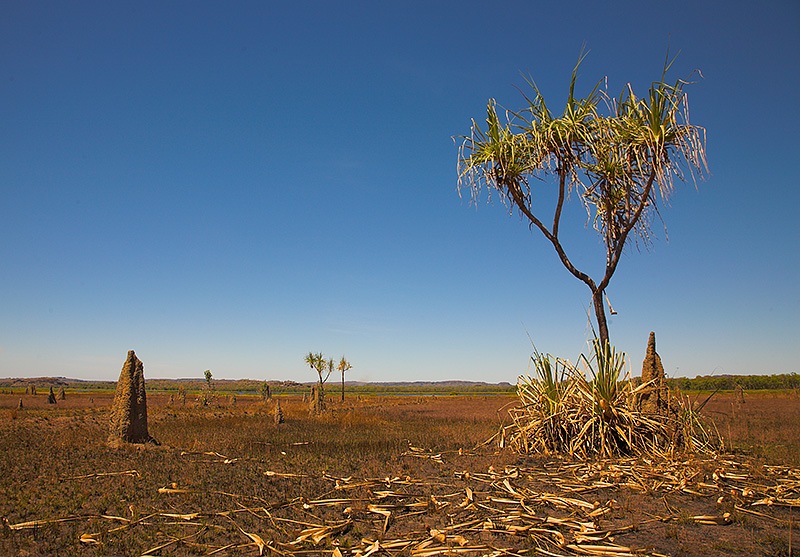 The black and white converted photo above is actually duotoned, or split-toned not just black and white. This is a great effect where you keep the highlights in a slight sepia tone and shadows are kept in pure black and white. It also helps a lot when printing! On the left is the original colour version of the photo, shot with a polarizer filter in very ordinary noon light but this light actually works well in black and white. This means if you like black and white you can shoot colour early and late in the day and then black and white in the middle of the day. No time for siesta anymore you can shoot all day long!
10 Comments on “Two Toned World”
Thanks flem I was using the middle of the day for my naps now you have gone and put the kibush on that little joy in life. But in all seriousness well written article and advice, cheers.
Cheers mate, sorry for ruining your nanny-nap time 😀 All work and no rest now!
Yeah thanks heaps Flem, Now we have no excuse to be lying around. That's what I like to hear, nire photography time!
You could always say you don't like black and white photos and take a nap instead!
You can also try a quadtone on the B&W for something different (stole this one from sCOTT kelby)
Na Flem I love a good B&W shot!
My comment sounded a bit sarcastic, but I was actually telling the truth! haha
cheers
Quadtone? Aren't we getting back into full colours again then? Will have to try that! 😉
Dylan, no worries, you can rest when you're dead I always say 🙂
Sorry I mean the quadtones with greys, theres a default set in cs3.
Flem, great idea. I've been avoiding high noon for my shots. Now I'll be getting more exercise. Time to loose weight! Thanks.
You're welcome – now you can shoot all day long 🙂